Use labels and filters in your Gmail
It's simple. You just have to start using it once.
Outlook also has a feature like folders and categories, but I’m talking about Gmail here.
Gmail is an amazing email management tool, but it can be difficult if your inbox is crowded, right? Labels are one method for keeping your emails organized. Labels in Gmail enable you to organize your emails and conveniently find them when you need them.
1. Create Labels
Go to the left-hand side of your Gmail inbox, and click on the "plus icon”. Give your label a name. You can create as many labels as you need, and you can also nest labels within other labels. You can also manage these later by going to the Labels tab on the settings page.
So, first, you have to think and create all types of labels that you need and create. Then you can add if anything comes up your way later. In this way, we can organize a little faster - but it’s your call.
For eg;
Personal/Banking
Personal/Invoices
Personal/Investments
Personal/Emergencies
Personal/Home
You can customize your labels further by adding colors or changing the text color. To do this, hover to the label and click on the three vertical dots next to your label then select "Label color."
2. Apply Labels
To apply a label, open the email, and click on the label icon. From there, select the label you want to apply, and the email will be moved to that label's folder.
3. Archive Emails
Once you have labeled your emails, you can archive them to keep your inbox clutter-free. But don’t worry, archiving an email removes it only from your inbox, and it still remains in your Gmail account. To archive, an email, click on the "Archive” icon.
You can either go through your labels to find that again or search using the keywords.
Here’s the Google version if you want it: https://support.google.com/mail/answer/118708
4. Use Filters
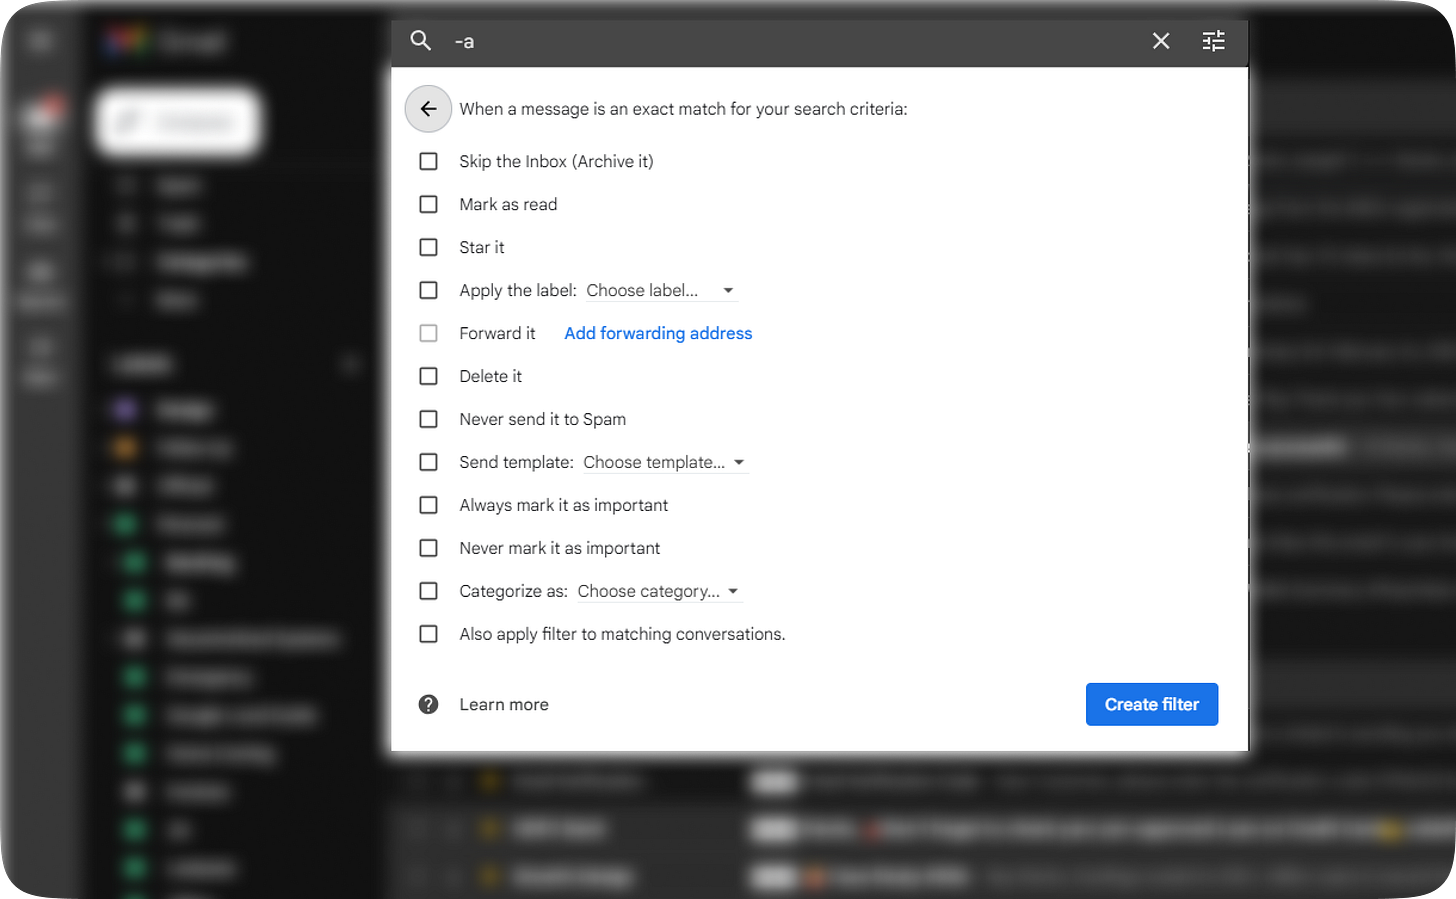
Filters in Gmail allow you to automatically apply labels to specific emails based on certain criteria. For example, you can set up a filter to automatically label emails from a particular sender or with a specific subject line.
To create a filter, go to the search bar in your Gmail inbox, and click on the icon on the right side. From there, you can set up your filter criteria. You have to insert an email or a keyword to begin the “Create filter” workflow. Once you typed the basic workflow, click on the “Create filter” button on the left side of the search button.
Tick the appropriate action. Also, be careful about it.
Here’s the Google version if you want it: https://support.google.com/mail/answer/6579


